Headlight Restoration cost · reviewed July 2026
Headlight Restoration Cost (2026): Pro vs DIY Prices
Headlight restoration costs about $75–$250 per pair from a pro in 2026, or $15–$40 for a DIY kit. See what cloudy headlights should cost and whether to DIY.
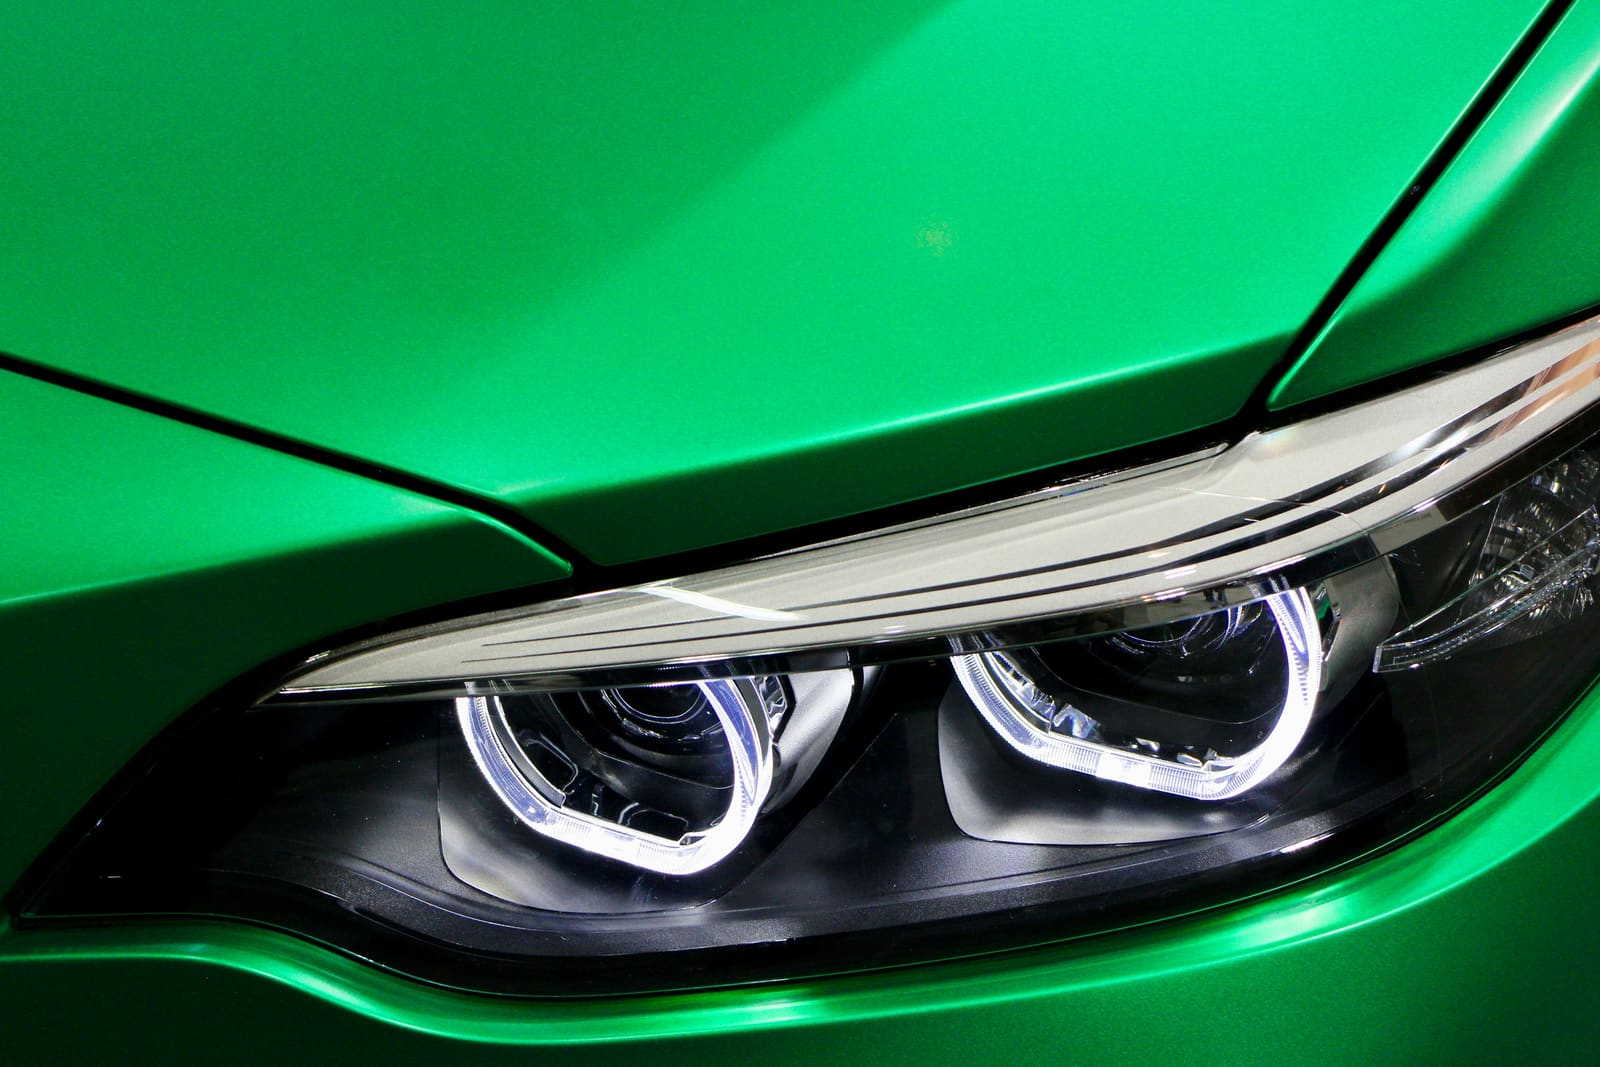
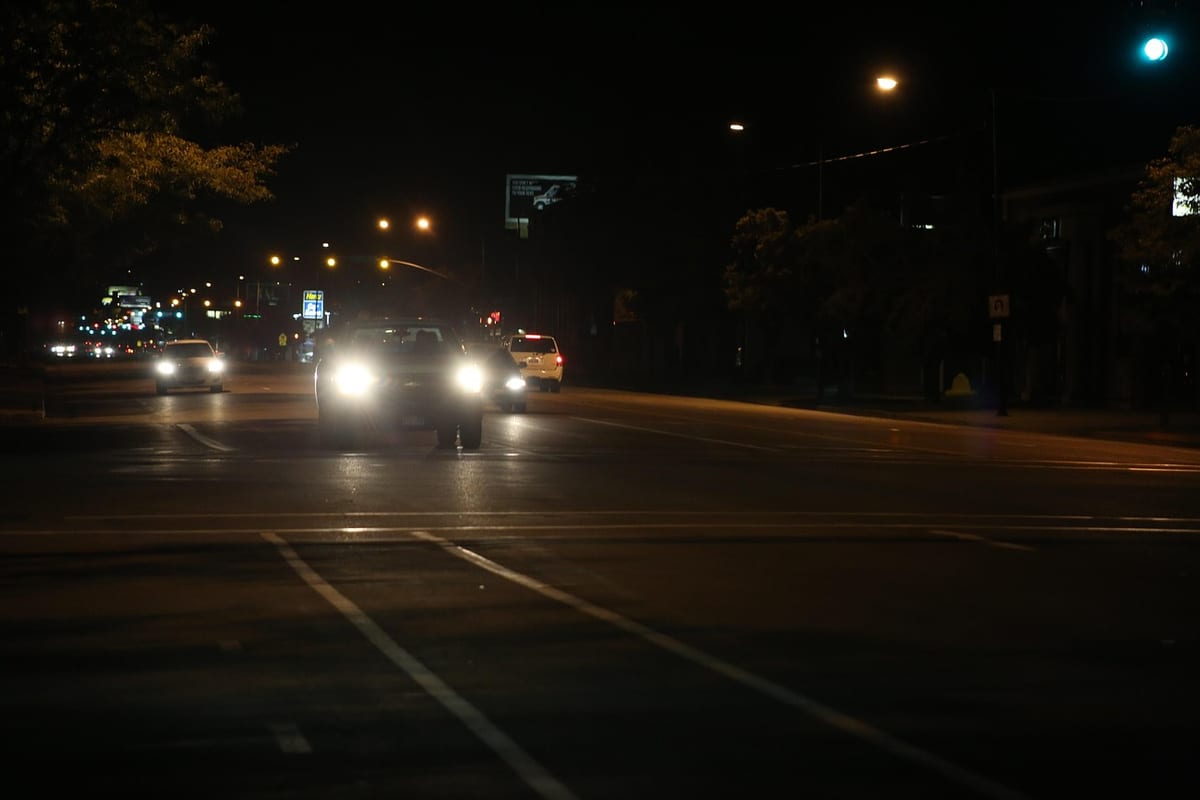
Jump to the calculatorThis is the result a restoration is chasing: a clear lens with full light output, not the cloudy, yellowed version most cars end up with. Photo: Unsplash.
Estimate your headlight restoration cost
Pick your vehicle and tier. The estimate updates as you go. No email, no quote form.
Estimated headlight restoration cost
– –
Most pay around – for a pair of headlights.
How this estimate is built
Pro install, parts + labor. Costs reviewed July 2026. Your real quote will vary by shop and vehicle.
Headlight restoration is the best-value job on this whole site. Cloudy, yellow headlights aren’t just ugly, they scatter your low beams and cut real night visibility, and the fix is cheap whether you do it yourself or pay someone. There’s no reason to drive on foggy lenses.
Why headlights turn yellow in the first place
Almost every headlight lens made since the late 1980s is polycarbonate, not glass, because it’s lighter and far more impact-resistant. The tradeoff is that raw polycarbonate has poor UV resistance on its own, so every lens leaves the factory with a thin, clear, UV-absorbing coating baked onto the surface. That coating is the whole ballgame. Years of sun exposure slowly breaks it down through photo-oxidation, a chemical reaction driven by ultraviolet light. Once the coating thins out or fails, the bare polycarbonate underneath starts reacting directly with oxygen in the air, and that reaction is what actually turns the plastic yellow and hazy. The oxidized surface also roughens at a microscopic level, which is why a clouded lens scatters your low beams instead of projecting them cleanly, the haze isn’t just sitting on top, it’s the surface itself breaking down.
That’s also why restoration works at all: sanding and polishing removes the failed, oxidized layer of plastic down to clear material underneath, then a new coating goes on to protect it. Skip the new coating and you’ve just removed the one thing standing between the lens and the sun, so it clouds again faster than it did the first time.
What you’re paying for is sanding and polishing the oxidized outer layer off the plastic lens, then sealing it so it doesn’t cloud back up. Light haze just needs a polish. Moderate yellowing, the common case, needs wet-sanding through a few grits before polishing. Heavily oxidized, pitted lenses need a full multi-grit sand and a ceramic top coat to look right. That progression is the whole price difference; vehicle size barely matters.
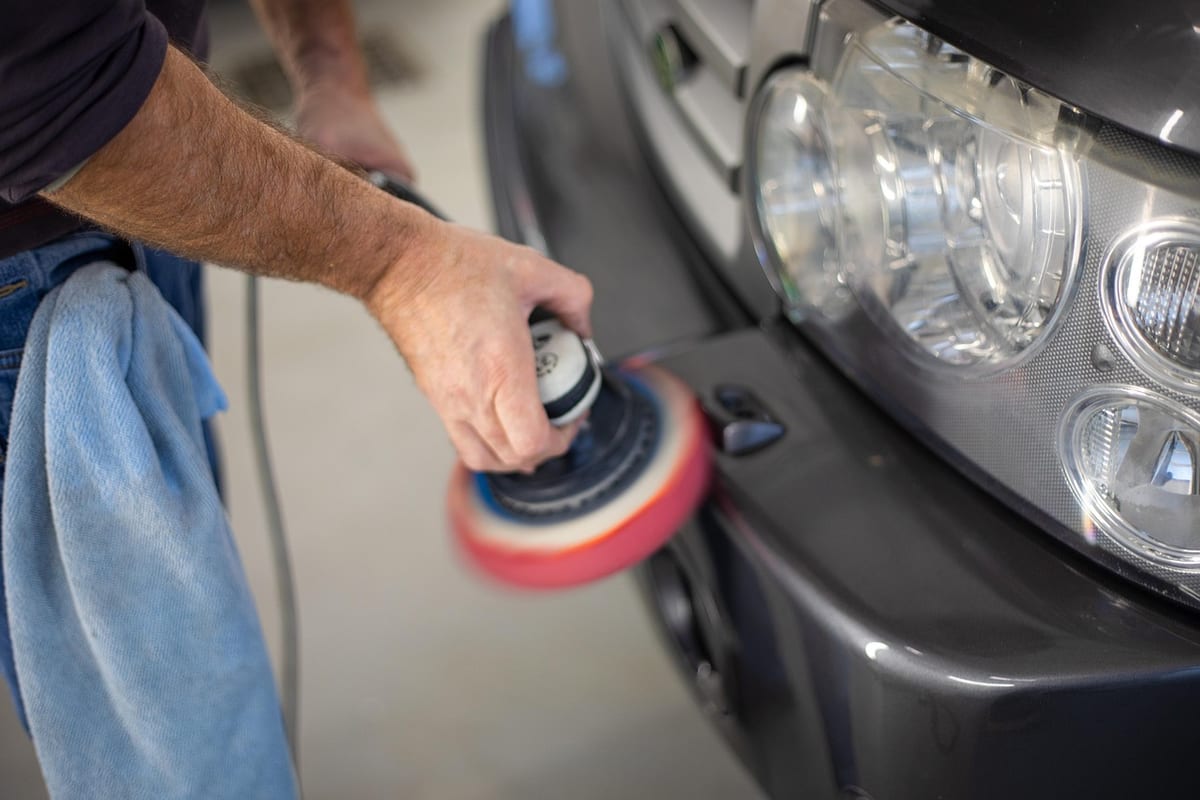
Polishing alone only gets you halfway there. Whoever does the work still needs to apply a real UV sealant afterward, or the same oxidation that clouded the lens the first time starts right back up within a season.
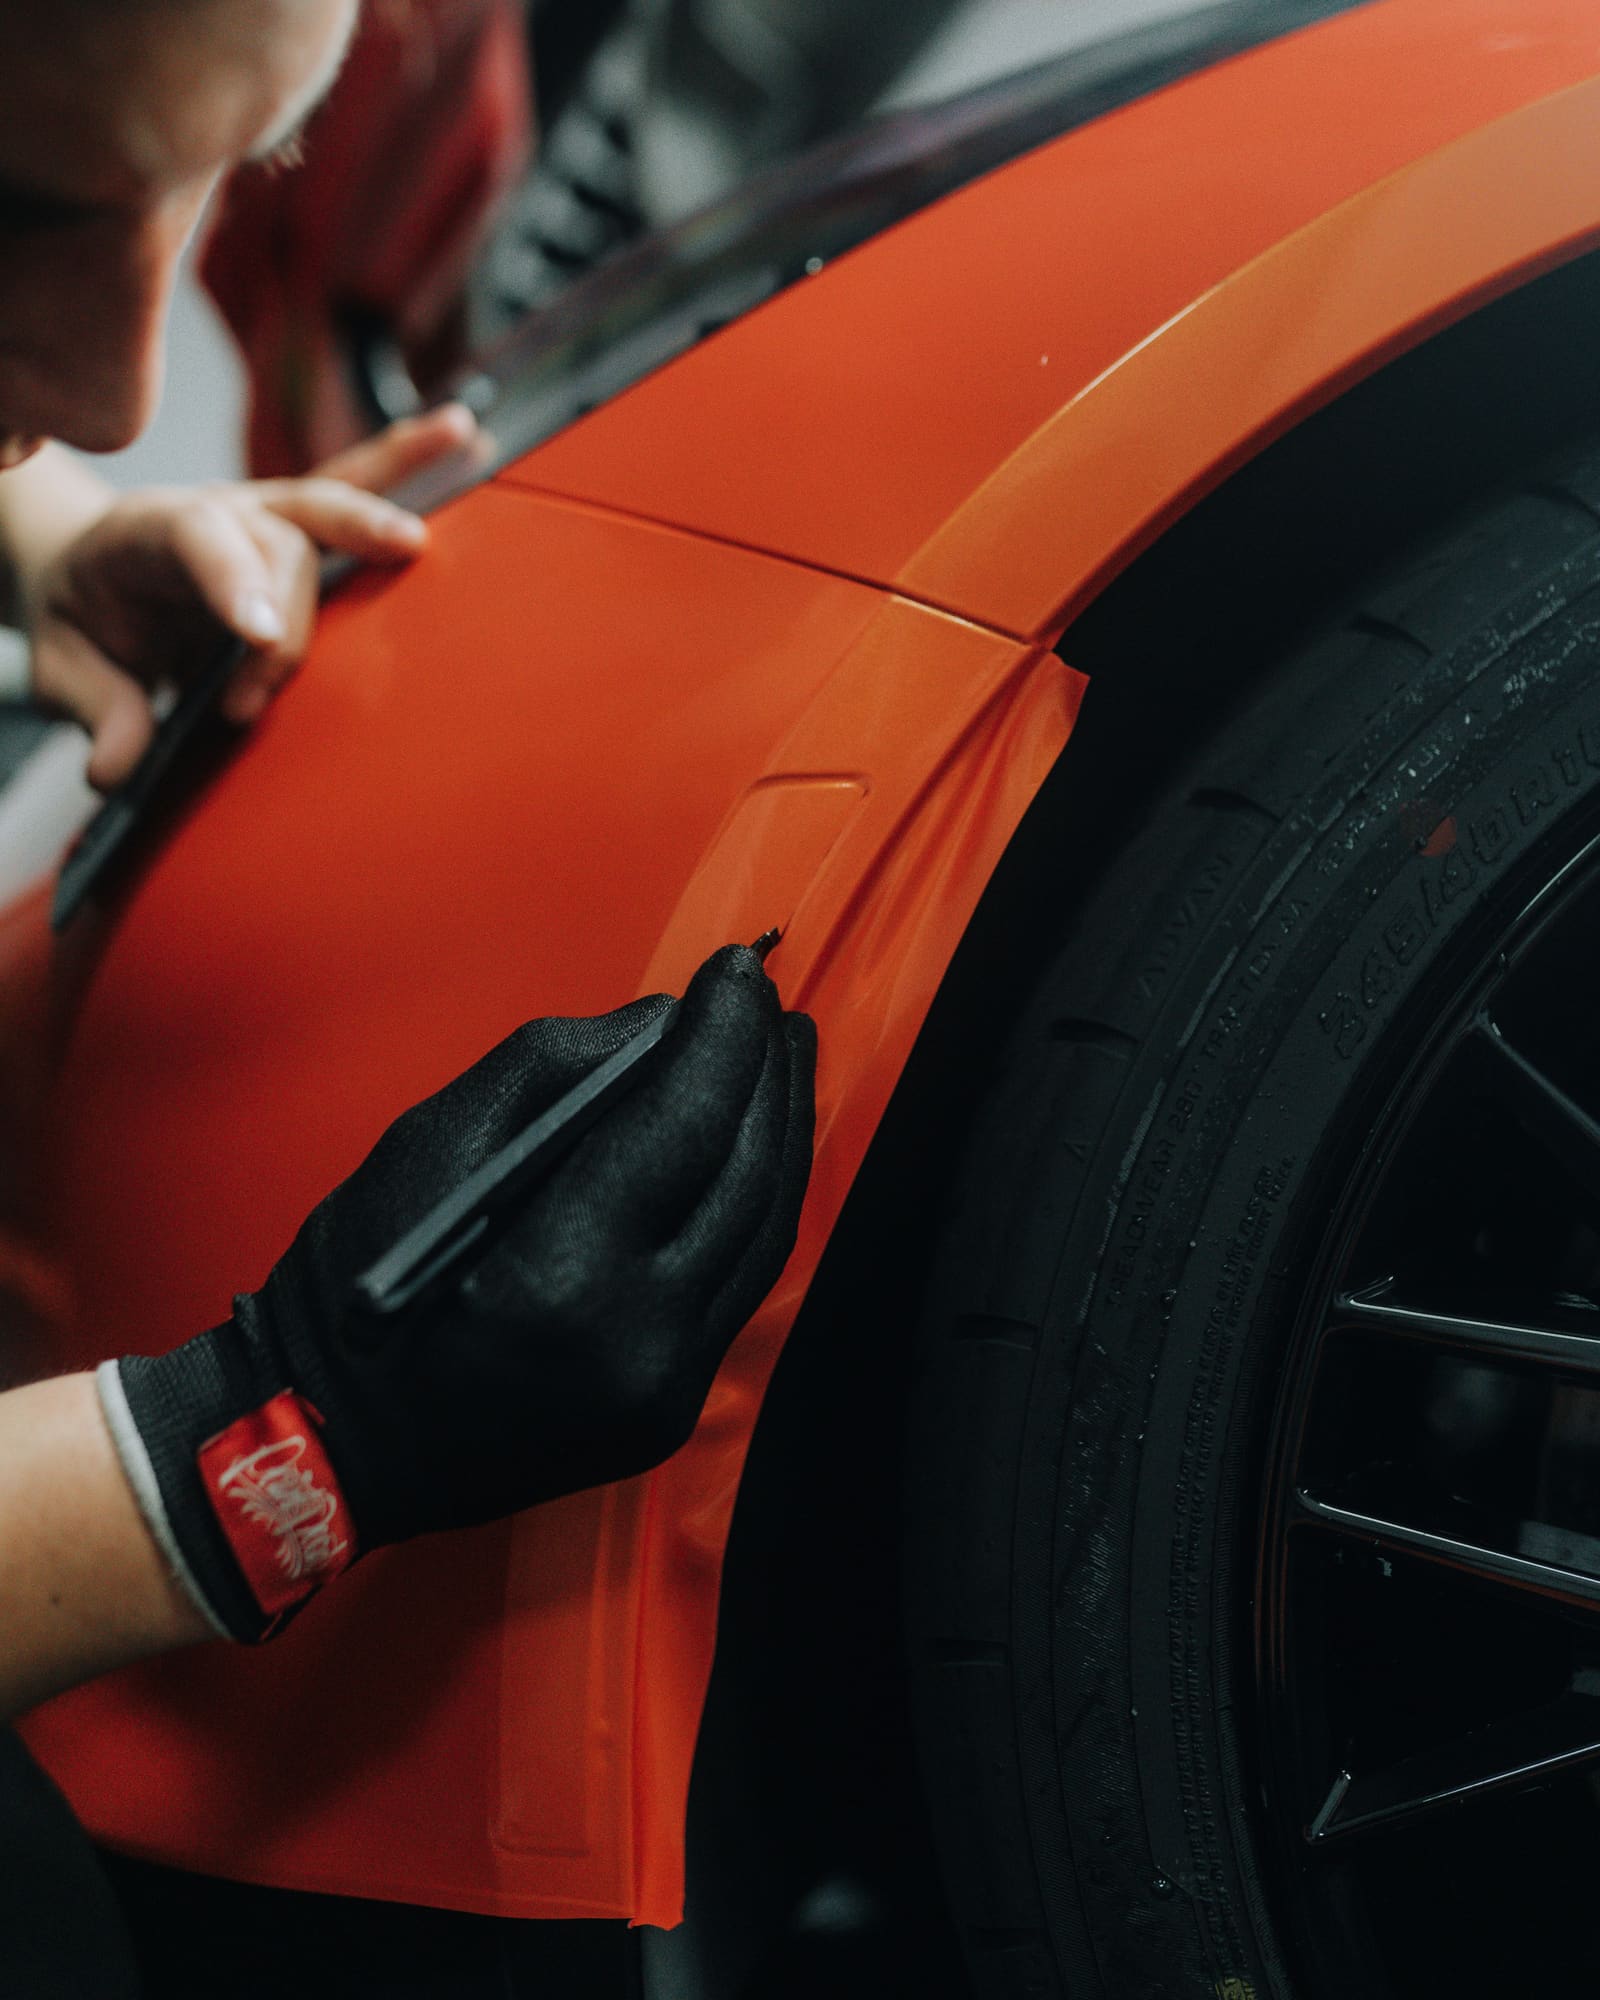
The one number that decides how long it lasts is the sealant. A “$60 headlight special” that skips a real UV sealant looks great for a month and clouds again by summer. A restoration with a proper UV ceramic top coat holds for two to three years. Whether a shop does it or you do, insist the sealant is part of the job.
The DIY kits aren’t interchangeable
The three kits people actually buy work differently, and it matters which one you grab. Sylvania’s kit is a fully by-hand wet-sand process with sandpaper sheets, no drill required, and independent testing found a first-timer can get 80–90% of the clarity back on mild-to-moderate haze in under 45 minutes. Meguiar’s kit uses a drill attachment and is rated the strongest all-rounder in side-by-side testing, in part because it pairs the sanding step with a dedicated UV coating rather than leaving that to a separate purchase. 3M’s system also runs off a drill and is the budget pick, with a UV sealant rated for up to two years of protection on its own restoration kits, cheaper than Meguiar’s but still built around the same sand-then-seal logic. None of the three is wrong. Badly clouded or pitted lenses do better with a drill-powered kit that can move through coarser grits faster; light-to-moderate haze is genuinely fine by hand. What actually separates a lasting result from a redo-in-6-months result is whether you finish with a real UV sealant at all, some of the cheapest bundled kits skip it entirely to hit a lower price point, and that’s the one step not worth cutting.
This is also the rare service where DIY is the smart default. A $15–$40 kit and an hour gets most people a clear result. Add a UV sealant and it lasts like a pro’s. Skip it, and a DIY job can cloud right back up in 3 to 6 months. The only time to skip restoration entirely is when the lens is cracked or fogged on the inside, that’s a replacement housing, not a polish.
What to ask before paying a shop
A same-day “$60 for both headlights” special is the single most common way people get a restoration that’s fully clouded again by the following summer. Before booking, ask two questions: does the price include a UV sealant coat (not just a polish), and how many grit stages does the process cover for your lens condition. A shop that answers both without hesitation is doing the job right. A shop that just says “polish and buff” without mentioning a sealant is selling you the same thing a $15 kit does, at ten times the price, minus the part that makes it last. Run the calculator to sanity-check a shop’s quote, then decide.
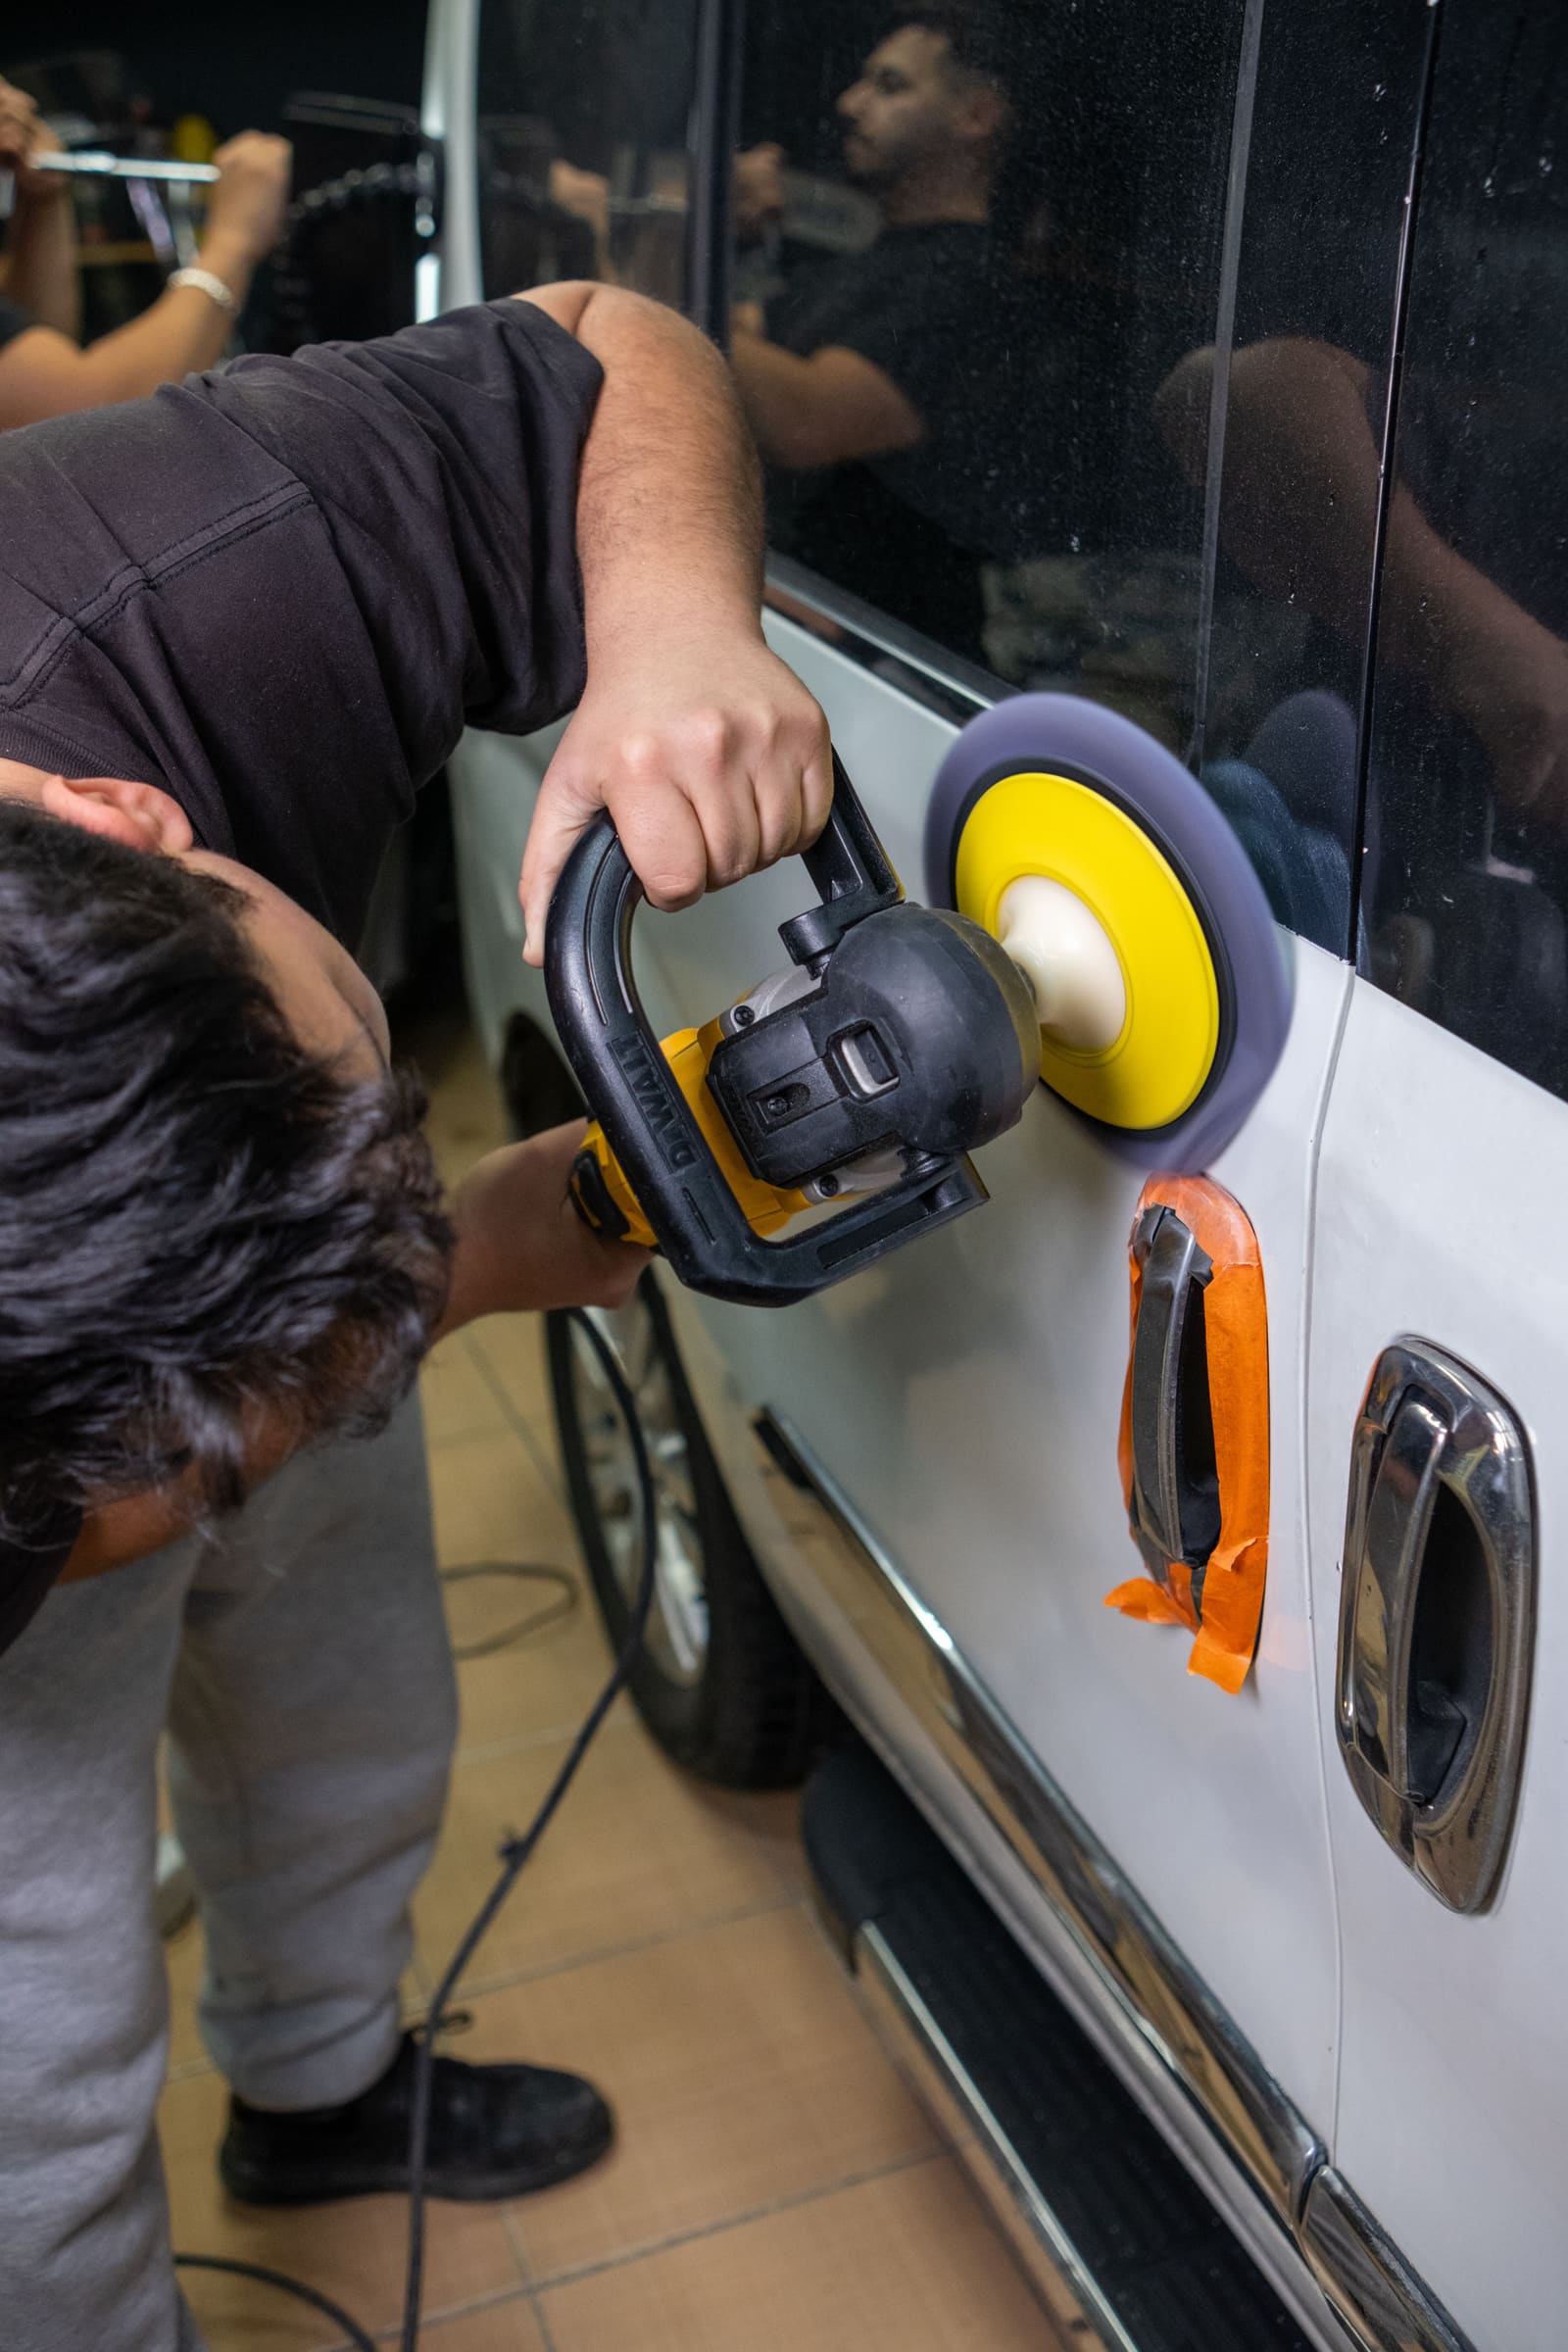
Cloudy lenses aren’t just a cosmetic problem. Oxidized plastic scatters and dims your low beams, so a car that looks fine parked in daylight can be genuinely harder to see out of once the sun goes down.
What moves the price
| What changes the price | Effect on cost |
|---|---|
| How clouded the lenses are | Light haze just needs polishing; heavy yellowing needs wet-sanding through several grits, which is more time. |
| Sealant quality | A cheap restoration with no UV sealant clouds again in months. A UV ceramic top coat adds a little cost and a lot of life. |
| Pro vs DIY | A shop charges $75–$250 per pair; a DIY kit is $15–$40. The pro's work lasts longer because of the sealant and prep. |
| One or both headlights | Most quotes are per pair. Doing the matching fog lights at the same time is a small add-on. |
| Lens beyond saving | If a lens is cracked or internally fogged, restoration won't help, you're looking at a $150–$600+ replacement housing instead. |
DIY or hire a pro?
This is the one job where DIY genuinely makes sense for most people. A $15–$40 kit with sandpaper, compound, and sealant brings cloudy lenses back to clear in an afternoon. The only catch is longevity: cheap kits skip a strong UV sealant, so results can fade in months. Add a UV ceramic top coat and your DIY job lasts as long as a shop's.
- Time
- 1–2 hours
- Skill
- Beginner-friendly
- Worth it?
- A real option if you've got patience and a clean space.
What you'll need
As an Amazon Associate, Detailing Cost earns from qualifying purchases.
- Done in a controlled shop, not your driveway
- The result you're paying for, with a workmanship warranty
- No wasted product or do-overs if it goes wrong
Get two or three quotes. The cheapest is rarely the one to pick for headlight restoration.
Is headlight restoration worth it?
Almost always worth it, cloudy headlights cut your night visibility and make a clean car look tired, and the fix is the cheapest service on this site. DIY first; it's a beginner job. Only pay a pro if you'd rather not, or if the lens is bad enough to need a multi-grit sand and a real sealant.
Worth it if you…
- Have yellowed or foggy lenses dimming your night driving
- Want a fast, cheap win before selling the car
- Are comfortable with an hour of hands-on work (for DIY)
- Want the headlights to match a freshly detailed car
Skip it if you…
- The lens is cracked or fogged on the inside, that needs replacement
- The housing is so pitted it won't polish clear